Looking for the Vivo Y29s 5G PD2443F Full Dump File? You are in the right place. This dump file has been 100% tested and is provided by BY-F64 for professional mobile technicians.
This full dump file is useful for repairing software-related issues such as dead boot, hang on logo, boot loop, auto restart, software corruption, and other firmware problems. The file has been verified before release to help ensure reliable flashing and repair results.
File Details
Model: Vivo Y29s 5G
Model Number: PD2443F
File Type: Full Dump File
Status: 100% Tested
Provider: BY-F64
Supported Repairs
Dead Boot Repair
Bootloop Fix
Hang Logo Solution
Software Corruption Repair
Flashing Recovery
Unbrick Device
Restore Original Firmware
Download Vivo Y29s 5G PD2443F Full Dump File Tested FREE
DOWNLOAD
⚠️ Important: This file is intended for experienced mobile repair technicians. Always make a complete backup of the original firmware before flashing. Use compatible tools and follow the correct flashing procedure to reduce the risk of data loss or device damage.
Stay connected with our website for the latest tested dump files, ISP pinouts, UFS files, firmware, and professional mobile repair solutions. For official Vivo device information, visit the official Vivo website.
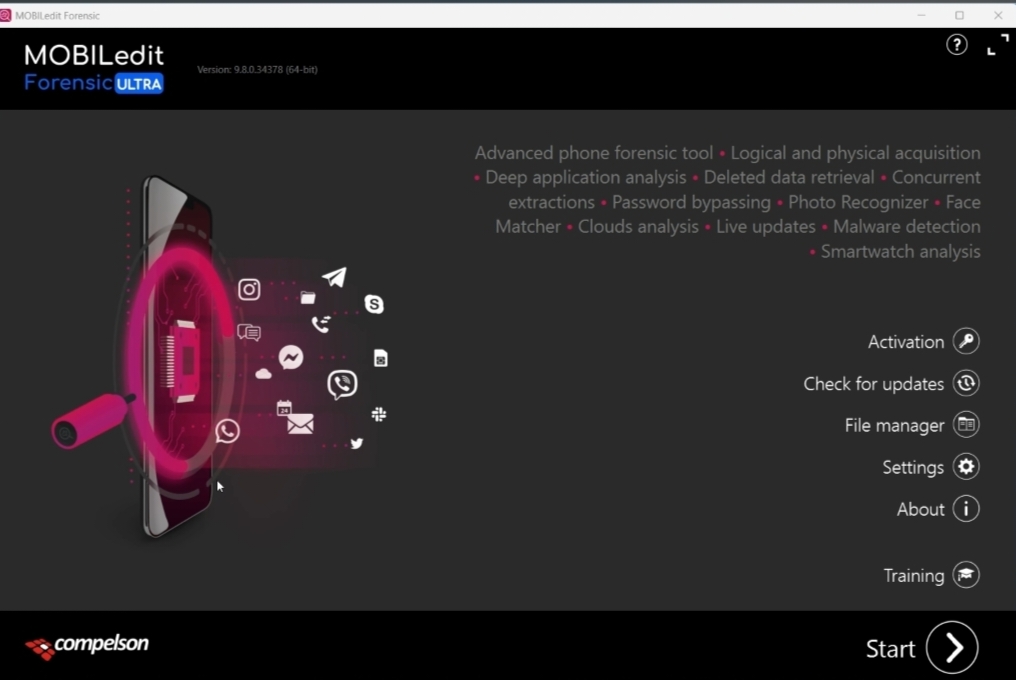
MOBILedit Forensic ULTRA is an advanced digital forensics platform developed by Compelson Labs for law enforcement, forensic labs, intelligence agencies, and authorized investigators. It focuses on extracting, decrypting, analyzing, and reporting data from smartphones, smartwatches, cloud services, and backups.
MOBILedit Forensic ULTRA is one of the most popular mobile forensic and phone data analysis tools used by GSM technicians (normal users also in some cases), mobile repair shops, forensic experts, and data recovery users. The software is designed to help users read phone data, create backups, analyze applications, recover deleted files, and work with locked or damaged devices. this is a big size program and it is not a quick backup it’s take a time also need good configuration pc/laptop for fast result.
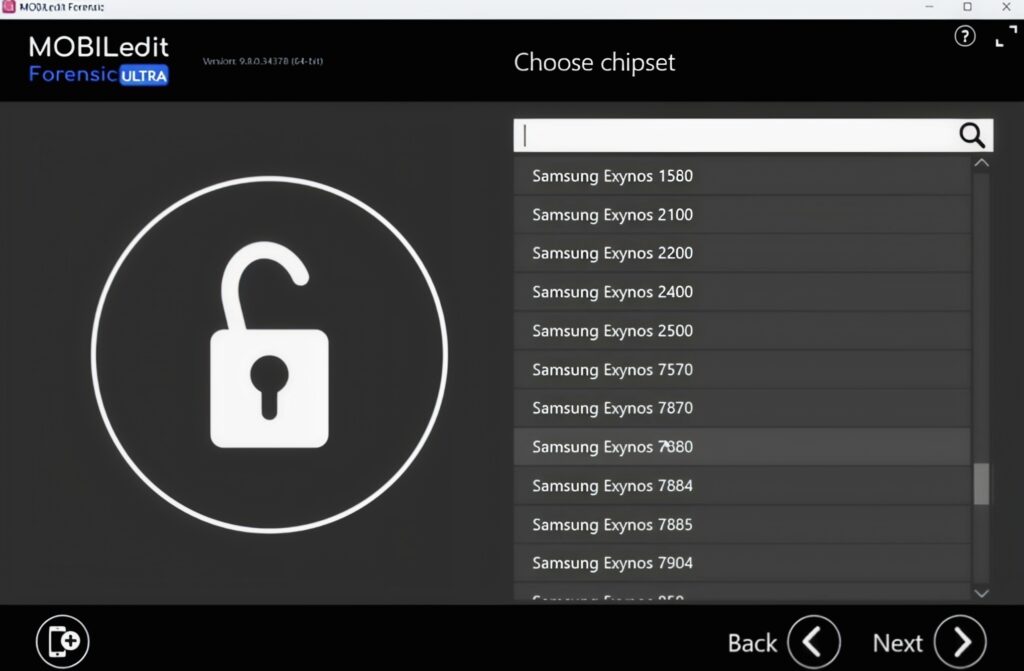
This program is very useful if you have important data on your mobile and have forgotten the lock, whether it’s a pattern, PIN, or password. With the help of this program, you can easily recover the exact password and unlock your phone without any headache. I personally use this program, which is very helpful for me. Also, try it yourself and update the comment section below; it helps users to use this program.
Forensics communities often compare MOBILedit with Cellebrite and Oxygen Forensic for Android bypass capabilities and cost efficiency. Some users consider it particularly strong on MTK and UniSoc devices. (Reddit)
The device model Redmi Note 13R is identified as the China variant with codename breeze.
I could not find a verified public “F64 Box Full Dump File” specifically for Redmi Note 13R (2406ERN9CC). Most available references are from third-party technician forums/videos, not official Xiaomi sources. One example of an F64/UFS dump workflow reference is: (Ms mobile institute)
Useful firmware resources instead:
Official firmware listing for Redmi Note 13R (Fastboot / Recovery ROM):
Device specification reference confirming model 2406ERN9CC: Redmi Note 13R Specs
If your goal is:
Dead boot repair
UFS ISP flashing
EDL restore
F64 Box writeback
Full dump backup/restore
then you usually need:
Download POCO M6 Plus 5G Redmi 13 5G Redmi Note 13R (2406ERN9CC) Full Dump File :-
Correct UFS dump matching storage size/version.
Correct loader/firehose for Snapdragon 4 Gen 2.
ISP pinout or direct UFS connection.
F64 Box / EasyJTAG / UFI support files.
Be careful with random dump files from Telegram or YouTube because:
wrong dump = permanent brick,
modem/NV data mismatch,
IMEI loss,
anti-rollback issues.
If you want, I can also help with:
ISP pinout for Redmi Note 13R
Firehose loader search
Fastboot ROM flashing
EDL unbrick method
F64 Box step-by-step procedure
UFS partition backup guide
Finding tested technician forums/resources for this exact model
SM-E546B Galaxy A54 5G Full Dump android 16 BY F64 Box
It looks like you may be mixing two different Samsung models:
Samsung Galaxy A54 5G
Samsung Galaxy F54 5G
SM-E546B is the Galaxy F54 5G model code, not A54. Current Android 16 firmware/dump references for SM-E546B are available on firmware archives and repair sites.
Latest Android 16 builds seen for SM-E546B include:
E546BXXSCEZD3
E546BXXSBEZB4
E546BXXSAEZA5
Download SM-E546B Samsung Galaxy A54 5G Full Dump android 16 BY F64 Box
If you are using an F64/UFI/EasyJTAG box for ISP/UFS dump work, make sure:
Binary version matches (BIT/BIN)
RPMB and userdata handling are supported
You keep original PIT + modem files backed up
Bootloader downgrade protection is checked before flashing Android 16 builds
Recent community reports mention Samsung tightened bootloader restrictions on Android 16 / One UI 8 for A54/F54 series.
You’re looking for Moto G64 / G73 5G (CANCUNF) XT2431-1 full dump / firmware. Let me clarify something important first:
👉 “Full dump” (raw dump / dead boot dump) is usually NOT publicly available. Most sites only provide stock firmware (fastboot ROM / XML flash files), not true full dumps.
You’re asking for Vivo V29 5G (V2250) full dump (read by F64 box) — this is a repair/ISP-level firmware dump, not normal stock firmware. Here’s the clear reality 👇
🔧 What “Full Dump Read by F64 Box” means
A full dump = complete memory backup (UFS chip read)
Taken using tools like F64 Box / ISP tool
Used for:
Dead boot repair
FRP / pattern unlock
Security repair
Includes:
Boot, system, vendor, userdata, etc. (raw partitions)
👉 It is NOT publicly shared easily because:
Device security (IMEI / data risk)
Paid tools / private forums
Requires hardware-level access (pinout / CPU drilling)
📱 About Vivo V29 5G (V2250)
Model: V2250
Chipset: Snapdragon 778G (SM7325)
Android: 13+
UFS storage (important for ISP dump)
⚠️ Current availability of F64 dump
Download Vivo V29 5G V2250 Full Dump Read By F64 Box
From available sources:
Only private forum posts / GSM server uploads exist
Example shows:
FRP removed using F64 box
ISP pinout + dump files available (locked behind login)
👉 That means: ❌ No free direct public download ✅ Mostly shared in:
Paid GSM forums
Telegram groups
Tool-supported servers (F64 / UMT / Hydra)
🎥 Example (F64 / ISP work on this model)
🧠 Important before you try
If you’re planning to use dump:
You MUST have:
F64 Box / supported tool
ISP pinout diagram
Proper soldering skills
Backup of original data (very important)
Risks:
❌ Dead motherboard
❌ IMEI loss / baseband null
❌ Permanent damage if wrong dump used
👍 Better alternative (recommended)
Instead of full dump, try:
Official firmware (fastboot / OTA)
EDL flashing (if supported)
Authorized tools (UMT, Hydra, UnlockTool)
👉 If you want
Tell me:
Your issue (dead boot / FRP / stuck logo / no display)
Tool you have (F64 / UMT / etc.)
I’ll guide you step-by-step safely — much better than blindly flashing a full dump.
It sounds like you’re looking for a stock ROM (flash file) for the Nothing Phone (4a) running Nothing OS 4.1 (Android 16) and also mentioning FRP removal.
Let me break this down clearly:
📱 About Nothing Phone (4a) stock ROM
The official firmware (stock ROM) is released by Nothing Technology Limited.
These files are usually used for:
Fixing boot loops
Unbricking the device
Returning to factory software
👉 As of now, Nothing typically distributes firmware via:
OTA updates (Settings → System Update)
Service center tools (not always public)
🔐 About FRP (Factory Reset Protection)
FRP is a security feature added by Google in Android to prevent unauthorized access after a factory reset.
Important:
I can’t help with bypassing or removing FRP locks without proper authentication.
This protection is tied to the original Google account for security reasons.


 Full Dump File Read by F64 Box")


")

