
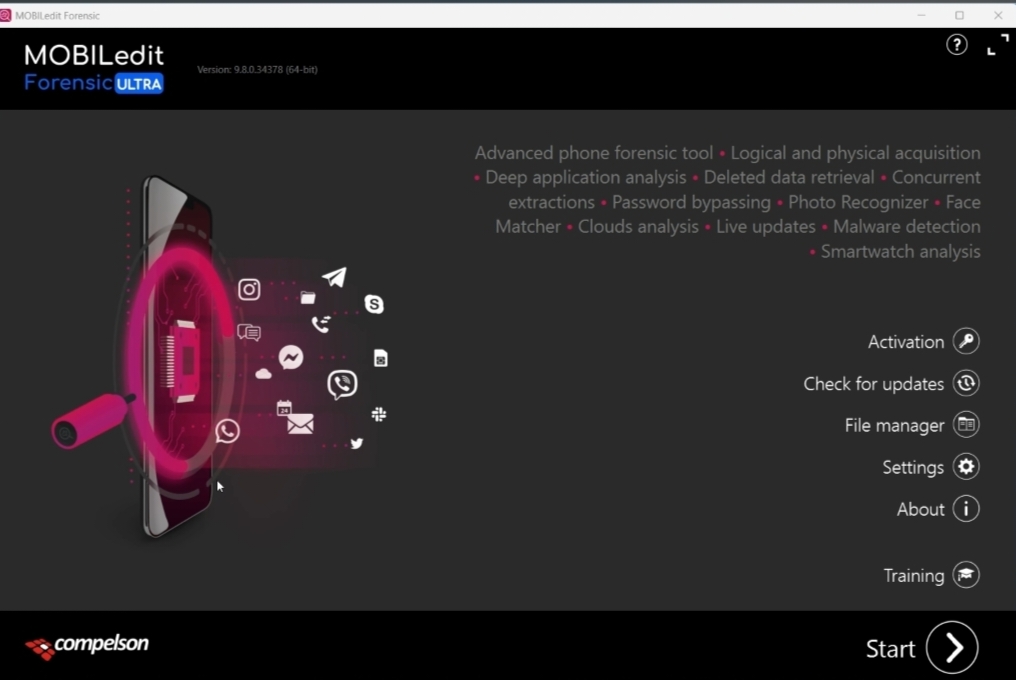
MOBILedit Forensic ULTRA is an advanced digital forensics platform developed by Compelson Labs for law enforcement, forensic labs, intelligence agencies, and authorized investigators. It focuses on extracting, decrypting, analyzing, and reporting data from smartphones, smartwatches, cloud services, and backups.
MOBILedit Forensic ULTRA is one of the most popular mobile forensic and phone data analysis tools used by GSM technicians (normal users also in some cases), mobile repair shops, forensic experts, and data recovery users. The software is designed to help users read phone data, create backups, analyze applications, recover deleted files, and work with locked or damaged devices. this is a big size program and it is not a quick backup it’s take a time also need good configuration pc/laptop for fast result.
This program is very useful if you have important data on your mobile and have forgotten the lock, whether it’s a pattern, PIN, or password. With the help of this program, you can easily recover the exact password and unlock your phone without any headache. I personally use this program, which is very helpful for me. Also, try it yourself and update the comment section below; it helps users to use this program.
Core capabilities
Mobile data extraction
Supports:
- Logical extraction
- File system extraction
- Physical acquisition
- Cloud acquisition
- Backup parsing
- Deleted data recovery
The tool works with:
- Android devices
- iPhones/iPads
- KaiOS phones
- Smartwatches
- Some Windows Phones
- GrapheneOS devices
MOBILedit Forensic ULTRA v9.8.0.34378 Latest Update Download FREE

Password – Sorry_Shaktimaan
ULTRA-exclusive features
The ULTRA edition includes all PRO features plus advanced “security bypassing” functions controlled under dual-use regulations.
Key ULTRA-only technologies include:
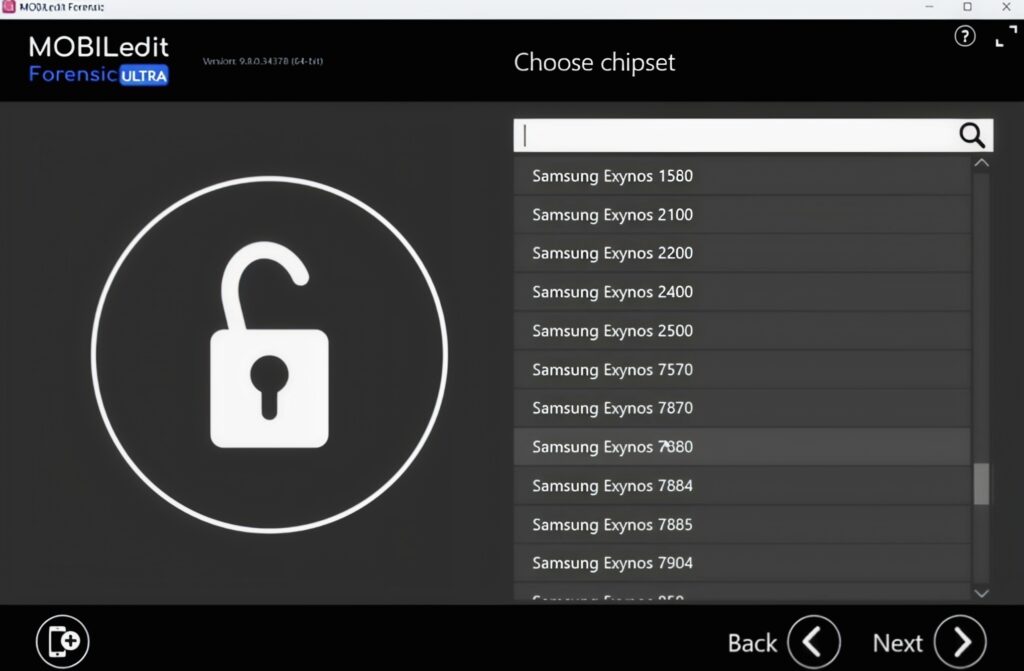
Samsung Exynos decrypt
Supports decrypting many Samsung Exynos-based devices including:
- Galaxy S series
- Note series
- A series
- Galaxy Watches
Examples:
- Galaxy S21 5G
- Galaxy S24
- Galaxy A55 5G
- Galaxy Watch Ultra
Huawei Kirin offline decrypt
Supports HiSilicon Kirin chipsets such as:
- Kirin 970
- Kirin 980
- Kirin 810
MediaTek (MTK) offline decrypt
Supports:
- Helio series
- Dimensity series
- G-series chipsets
Examples include:
- Redmi Note 11 Pro
- Vivo Y21s
- Samsung A31
- Oppo A5s
UniSoc / Spreadtrum decrypt
Supports many budget Android devices using:
- T606
- T610
- T616
- T700
- newer Tiger chipsets
Password Toolbox
Capabilities include:
- PIN brute force
- Pattern brute force
- Password cracking
- Decrypting encrypted physical images
- Backup password attacks
Analysis features
App analysis
Parses data from:
- Telegram
- Signal
- Facebook Messenger
- Snapchat
- Browser history
- GPS/location data
- Media metadata
Timeline analysis
Builds chronological activity views from:
- Messages
- Calls
- Photos
- App usage
- GPS logs
AI & multimedia tools
Includes:
- OCR support
- Face categorization
- Camera Ballistics integration
- Image metadata analysis
Reporting
Generates:
- PDF reports
- HTML reports
- Excel exports
- Court-ready forensic reports
- Evidence chain documentation
Device support
The software claims support for:
- Nearly all Android devices
- All iPhones/iOS versions
- Thousands of phone models overall
Typical users
Usually used by:
- Police agencies
- DFIR teams
- Military/intelligence units
- Corporate investigators
- Mobile repair forensic specialists
- Cybercrime labs
System requirements
Typically requires:
- Windows 10/11
- High RAM (16–32 GB recommended)
- USB drivers for target devices
- Administrator privileges
Comparison with competitors
| Tool | Strength |
|---|---|
| MOBILedit Forensic ULTRA | Strong Android chipset decrypt support |
| Cellebrite UFED | Industry-standard law enforcement ecosystem |
| Oxygen Forensic Detective | Excellent app parsing and analytics |
| Magnet AXIOM | Strong computer + cloud integration |
| MSAB XRY | Enterprise-grade acquisition workflows |
Legal & licensing notes
The ULTRA version is regulated because it contains advanced security bypass features. Access may require:
- Professional verification
- Export compliance checks
- Government/lab authorization depending on country
Official resources
Community observations
Forensics communities often compare MOBILedit with Cellebrite and Oxygen Forensic for Android bypass capabilities and cost efficiency. Some users consider it particularly strong on MTK and UniSoc devices. (Reddit)
 Full Dump File Read by F64 Box")


")


 Full Dump Android 16 F64 BOX")